
So a while ago i started on a blog post series i had hoped to be able to update with you on a regular basis. That did not happen as the new job was quite hectic and i was not able to get the funding i needed for the new S2D lab. So i ended up getting the old HP DL380 G6 servers from my then old job.
After the Nordic Infrastructure Conference i was approached by a company about a new exciting new job working on S2D, VMM, SCOM and Azure Stack as main focus. After some interview’s i decided to join Spirhed which i started with in April. So now i thought it was time to revive this series. Since then my S2D cluster has been running very good. Upgrading it to Insider Build 17083 which is the last Insider Build that is supported on VMM 1801. New blog post cumming as soon as the VMM team releases a build for RS5 Windows Server 2019.
In this blog post i will talk to you about my new “Server Room”.
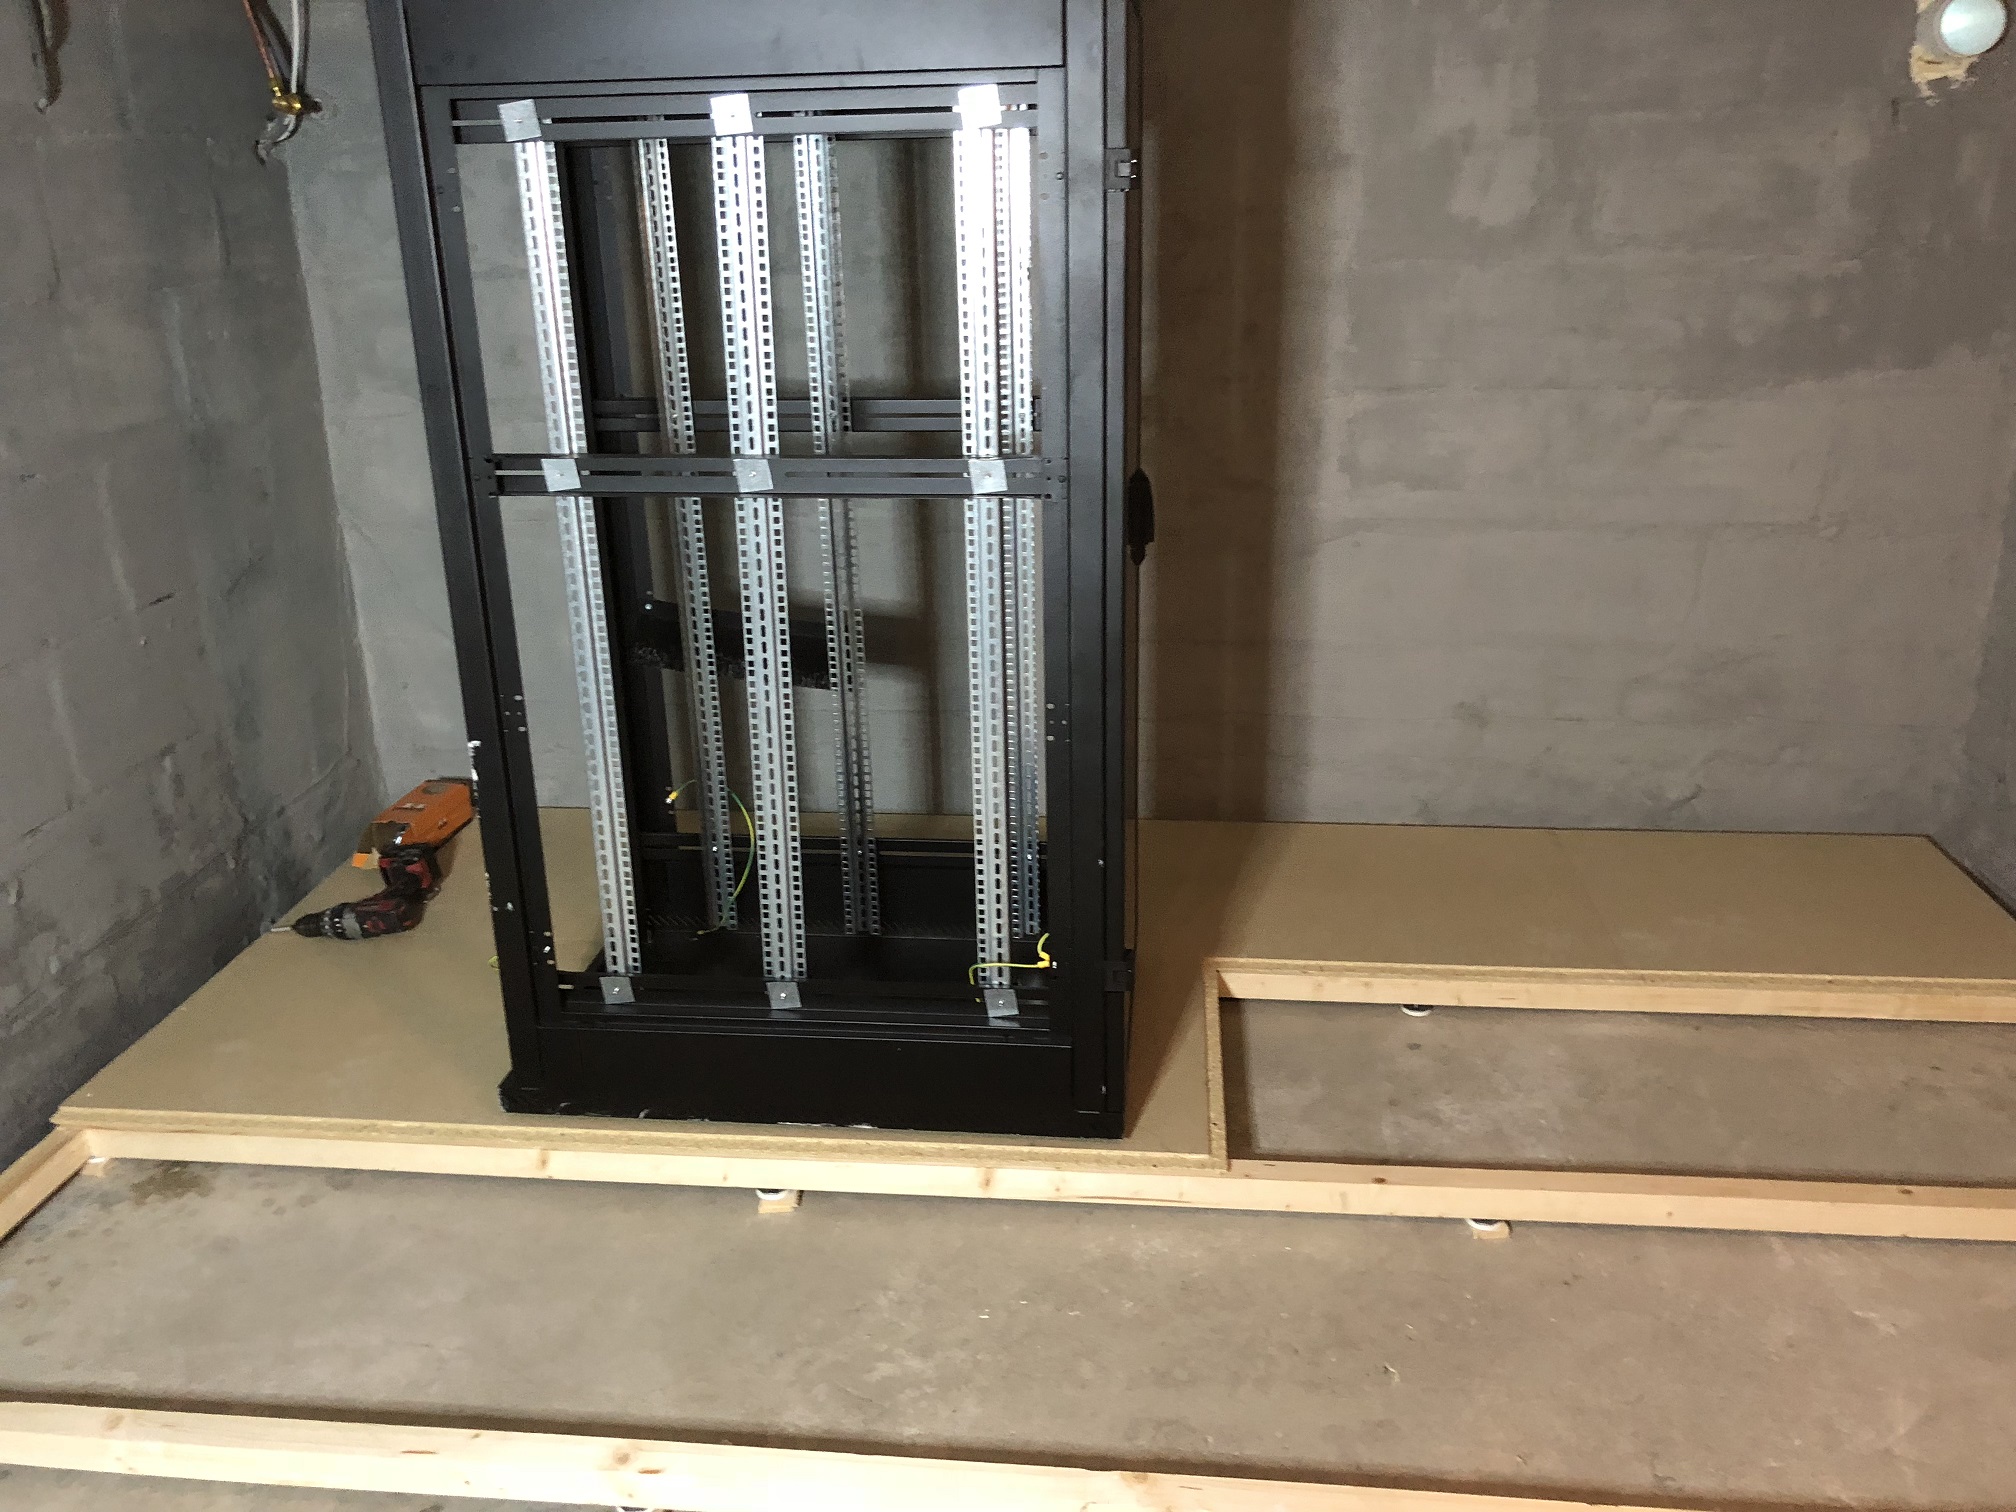
Since we moved in to this house 3 years ago my servers have been located in a 42u rack in the stair room down to the basement as that was the only place i had high enough room for a 42u rack. But it was tight, i had like 40 cm space in the rear of the rack, causing me to not be able to do anything in the rear without getting angry 🙂 So the time was to move it. I found a 36u rack on a local site similar to craigslist and bought it for about 3000 nok(350 usd).
Then i decided to use the room where the water heater was as that’s where my power to the garage goes trough and the network connection out there. So that would be the perfect place to move to. Now our basement only have a height of 1.8 meters(6 feet) so things could not bee too much off the ground. I ended up buying 2×2 construction wood and some low adjustable feet from Ikea to even out the new flooring. I also bought some 22mm flooring particle board to walk on and place the rack on.
What you need for creating your DIY server room floor
2×2 for flooring support
Ikea Lätthet adjustable legs https://tinyurl.com/ycsn33zc spaced at about 3 feet apart pr leg, 4 in a pack
22mm Flooring particle board
Floor board screws
Here i have started putting the floor on and started looking at placement as i also wanted cooling to the rack. The Ikea Lätthet legs are placed underneeth with some nut’s on top for adjustment and i have drilled a large hole for the nut, and a smaller for the adjustment fitting of the leg.
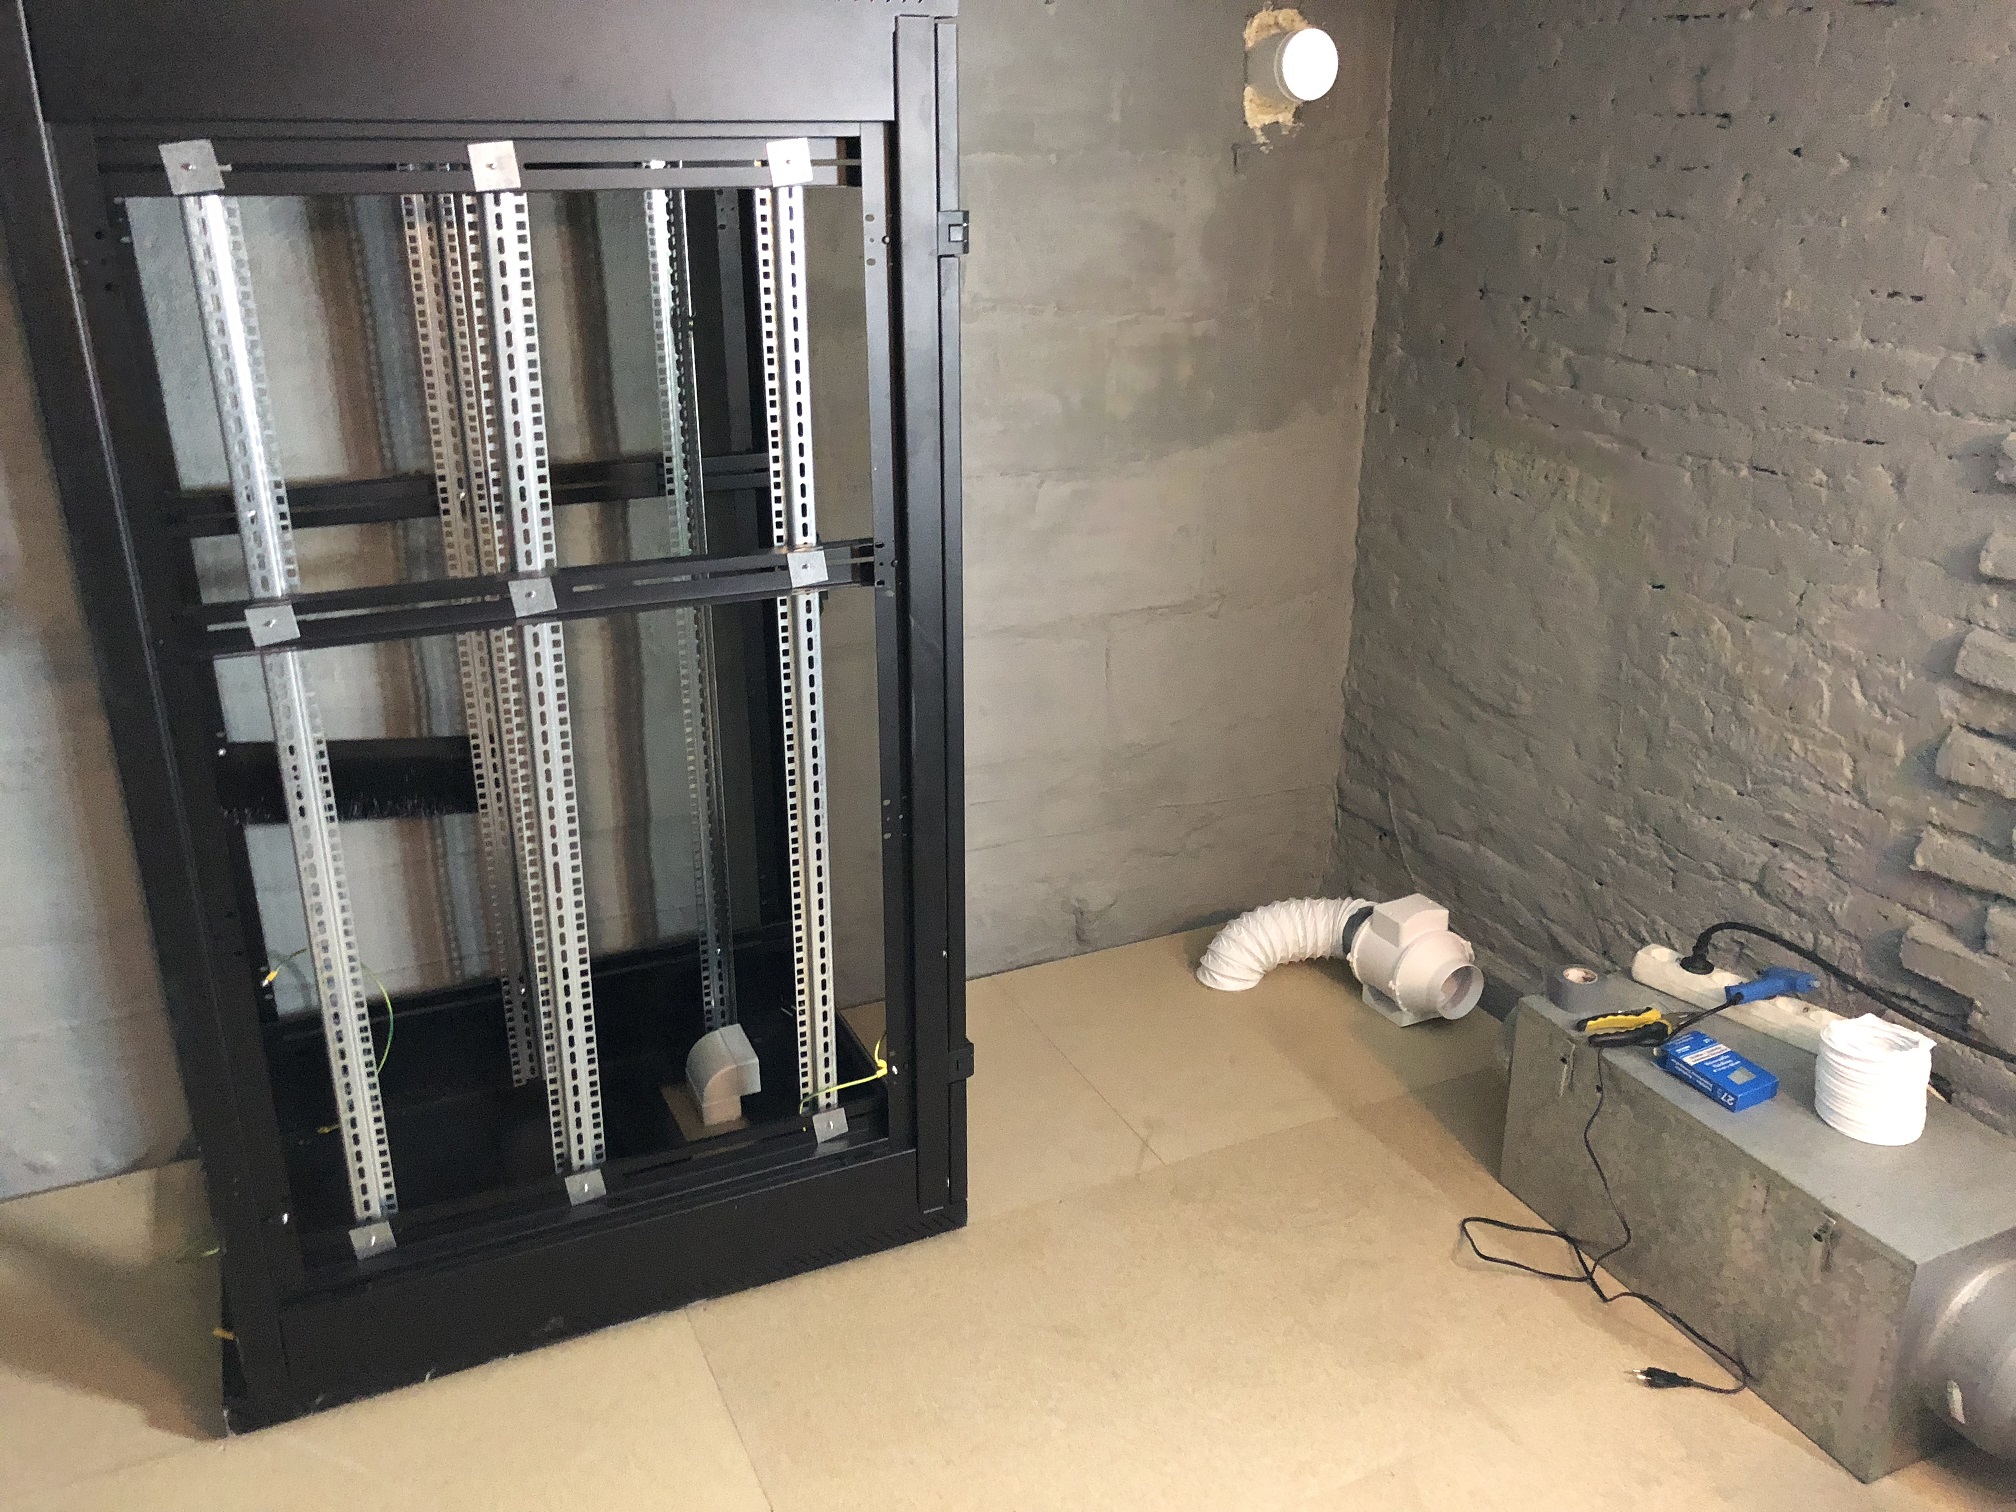
As you can see in this picture i have a cooling duct going in and coming up inside the rack. The cooling duct under the floor is square and will fit under the the flooring. All cooling parts except for the big filter is bought at Biltema.no, a local car/hardware store that sells almost everything. The fan flow’s 187 cubic meter an hour. So a steady flow. The in air comes from the outside. There is some manual ventilation flaps to control the mix of cold and warm air for winter time. This will be digitalised as soon as i find something cheap that can do it.
Cooling parts
2 x 1 meter Square cooling ducts
2 x 90 degree Square cooling ducts
1 x Square to round cooling duct
2 x Adjustable round cooling hose
1 Cooling fan, nothing fancy
Air filter to filter out dust particles
2 x Adjustable ventilation flaps, 1 for cold intake and 1 for hot intake.
Cooling duct tape
Power Cord and switch to turn fan on and off.
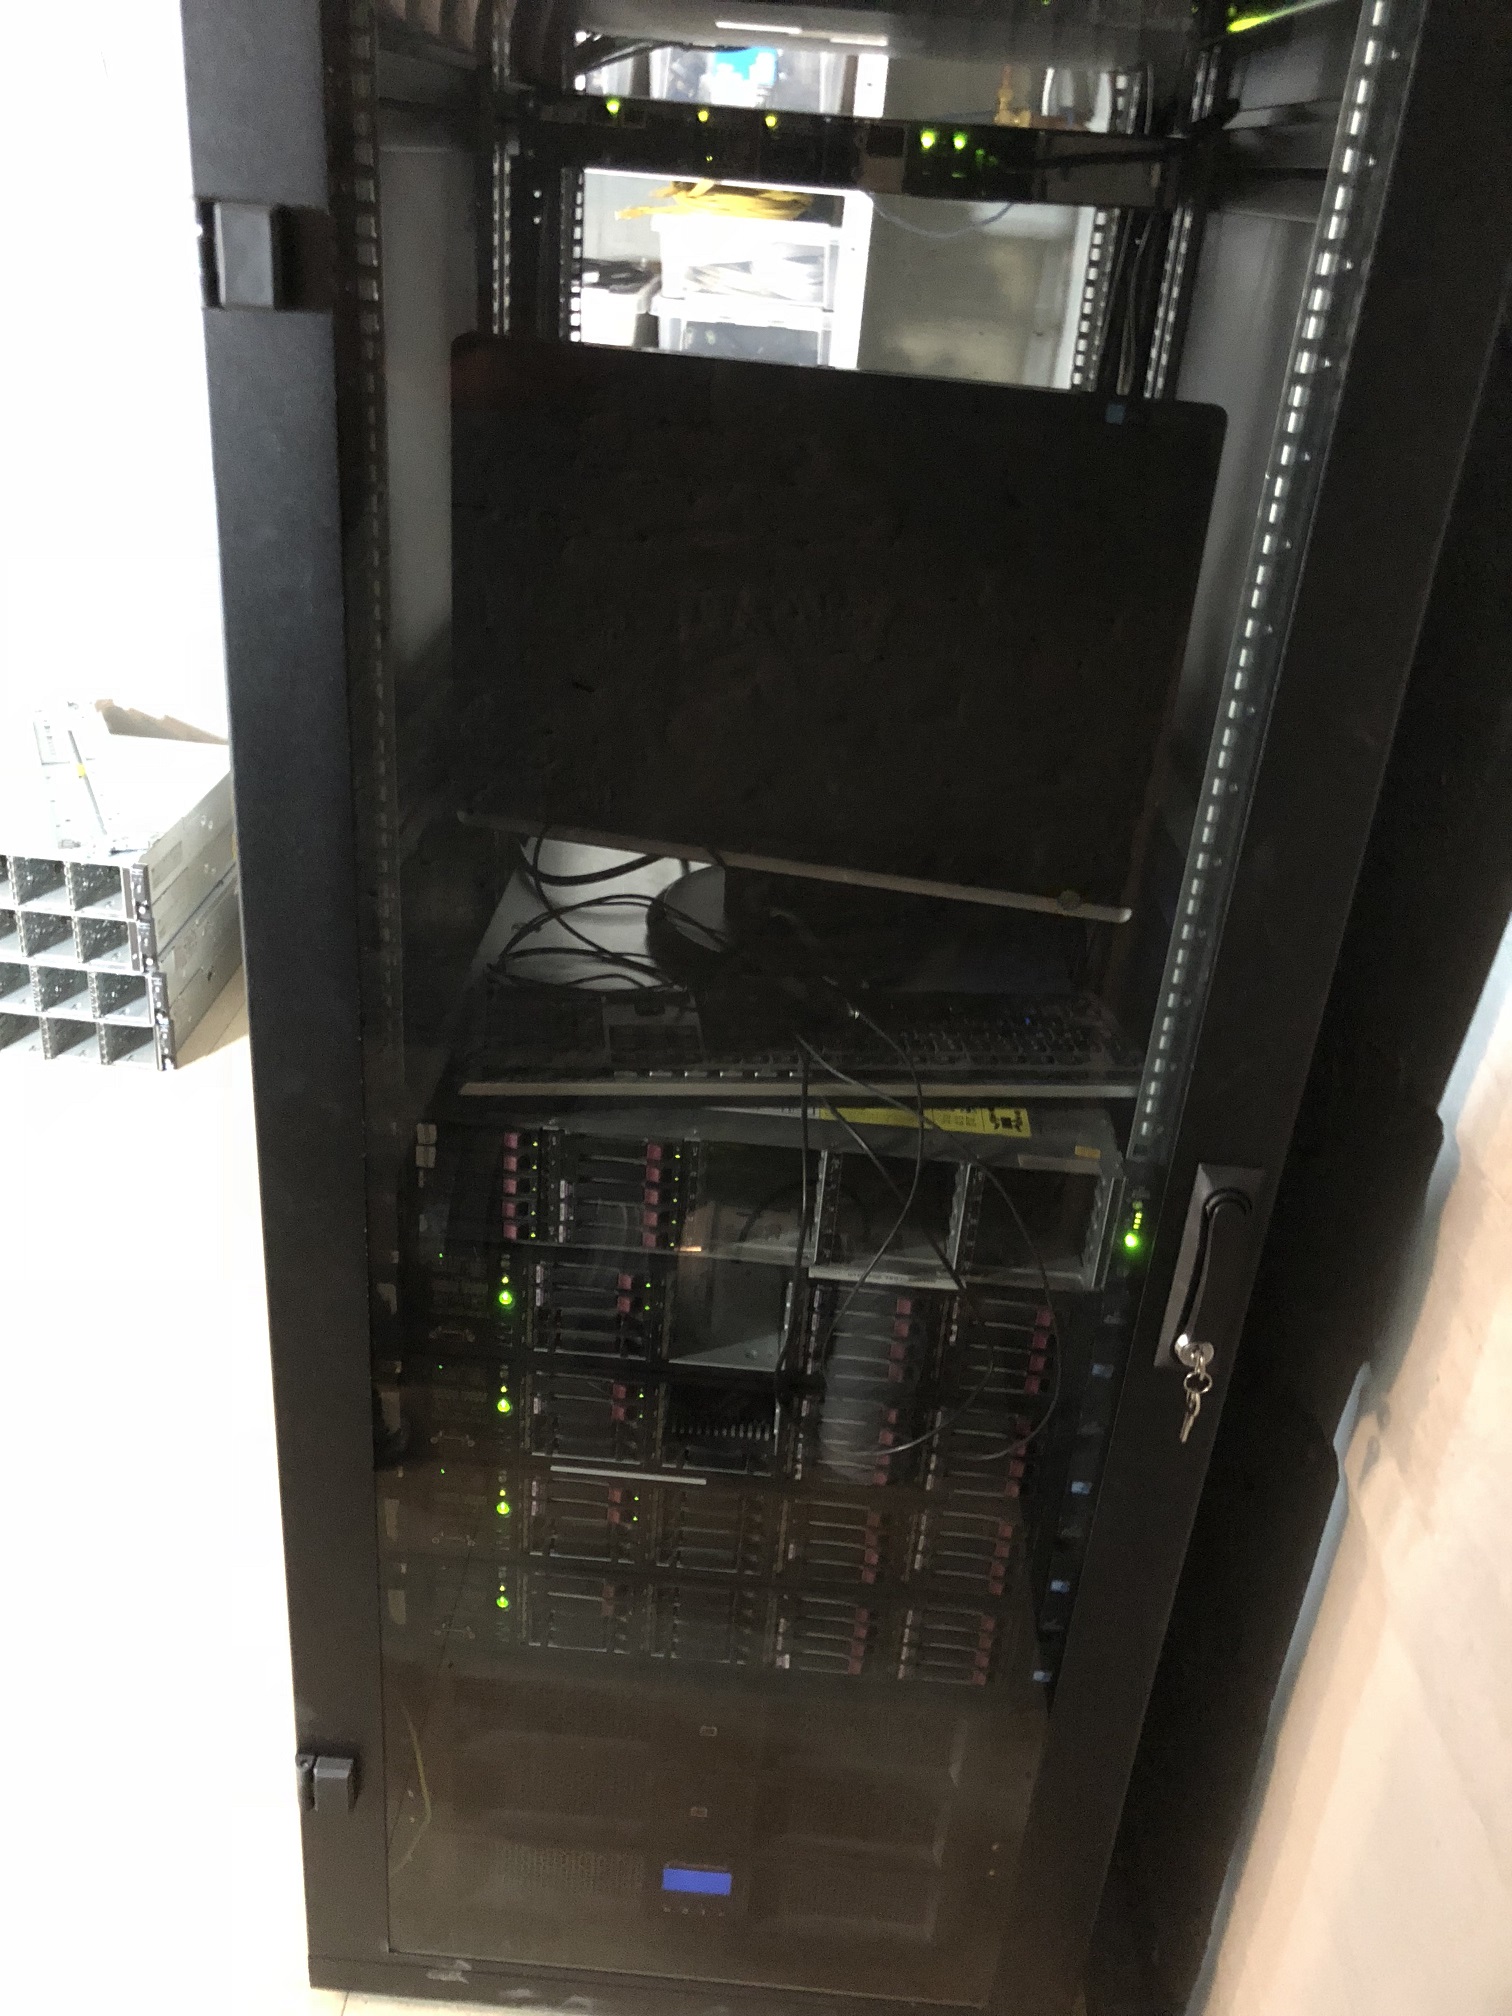
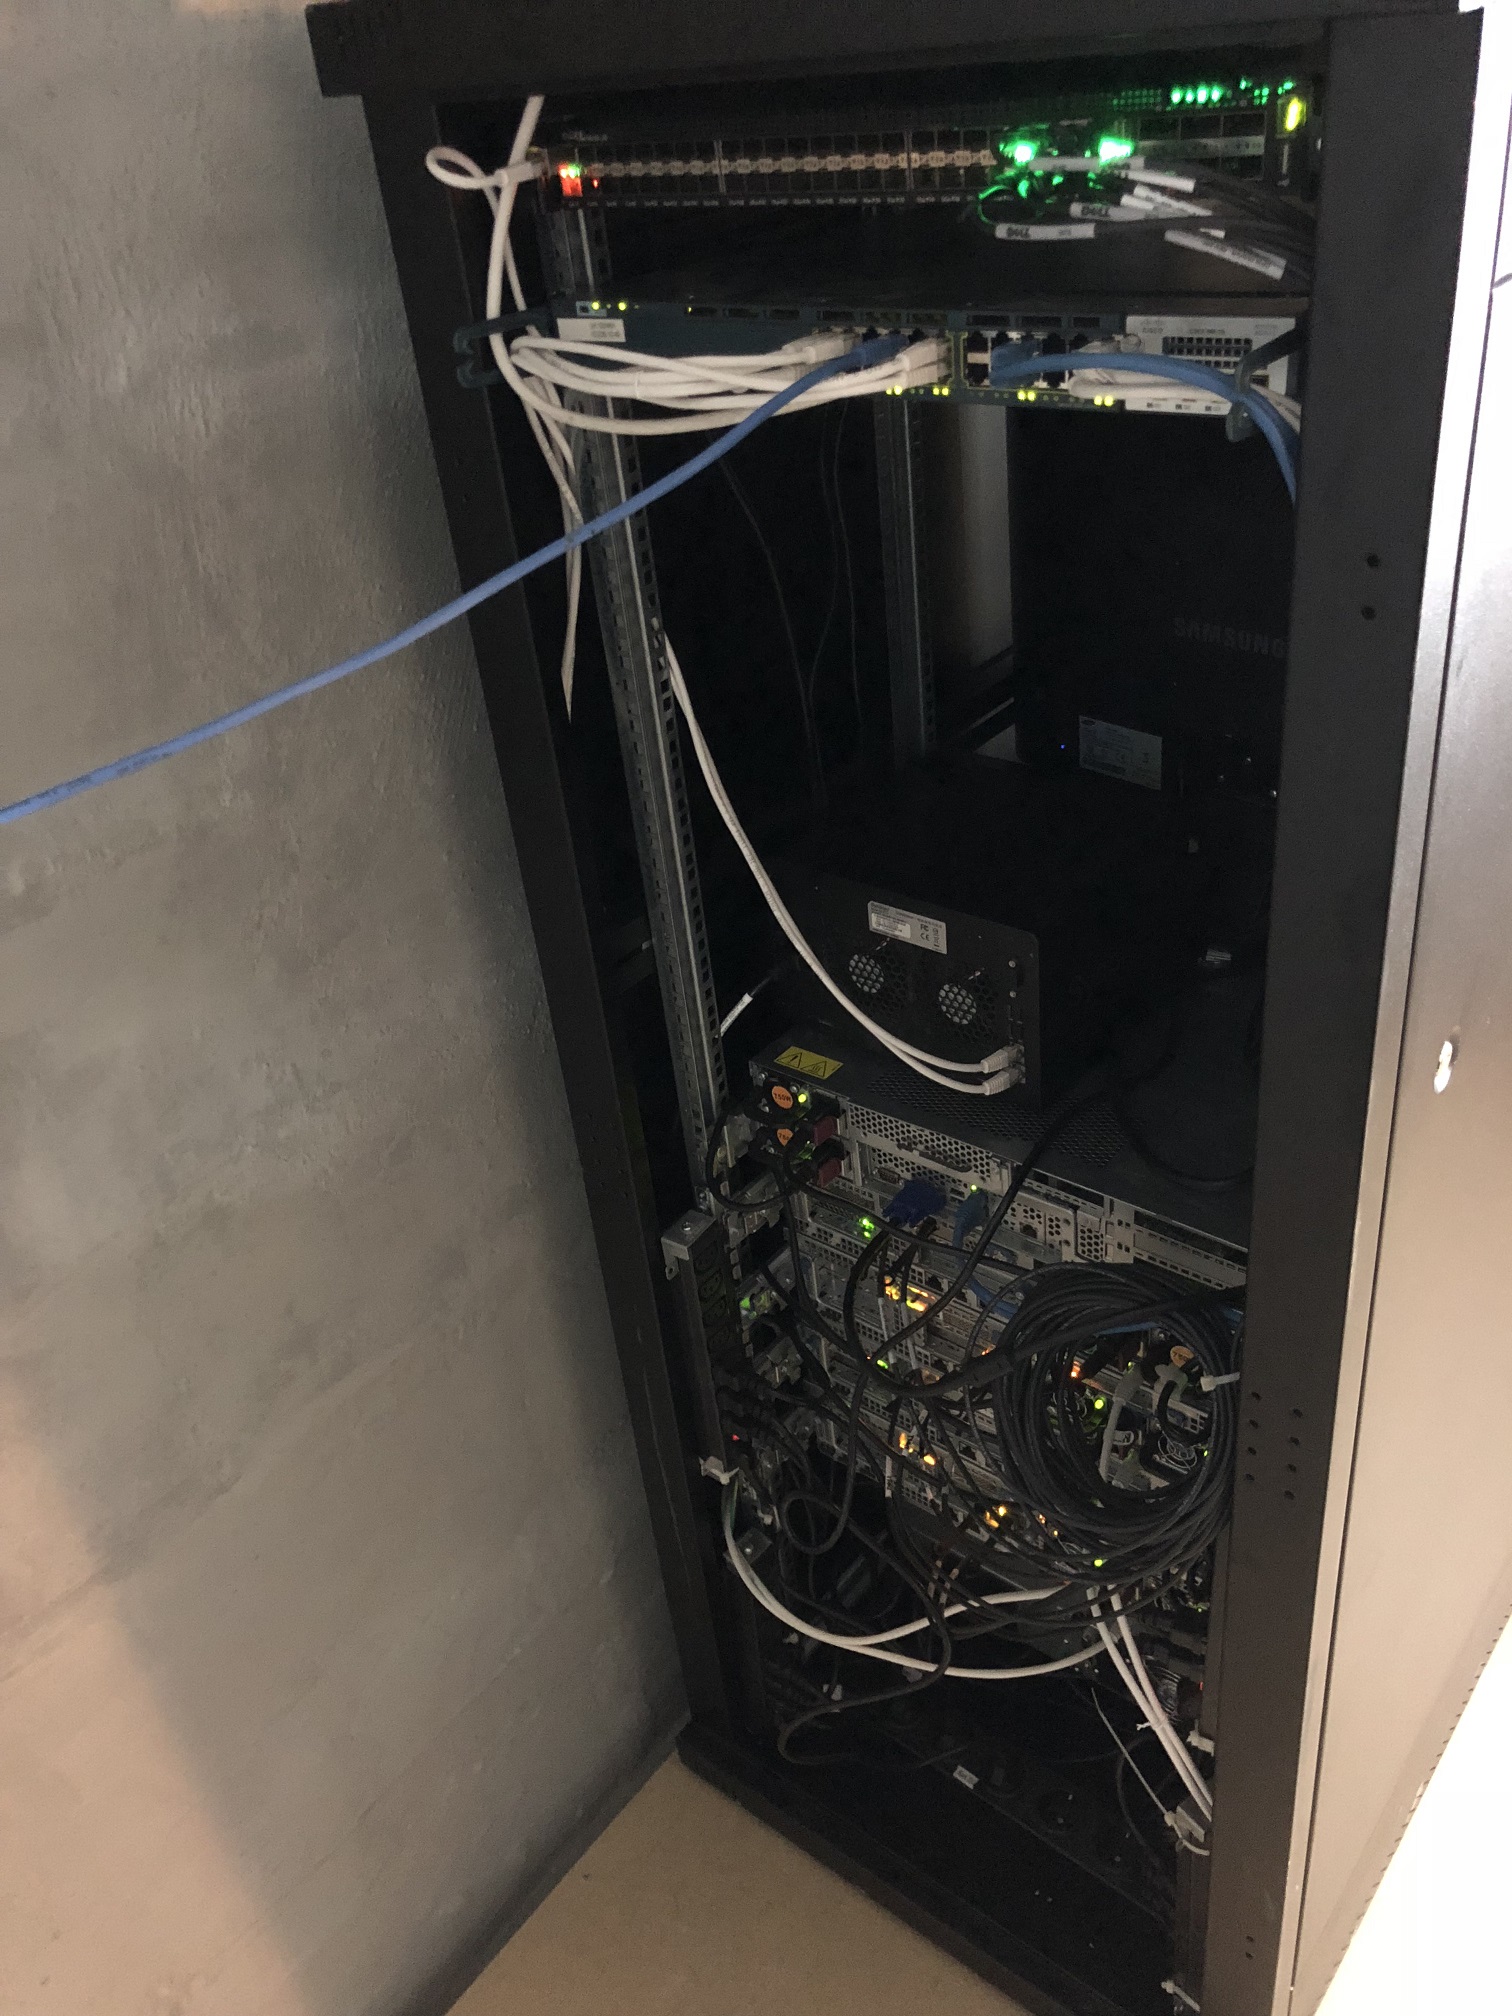
Here you can see the finished setup of the rack and cooling.
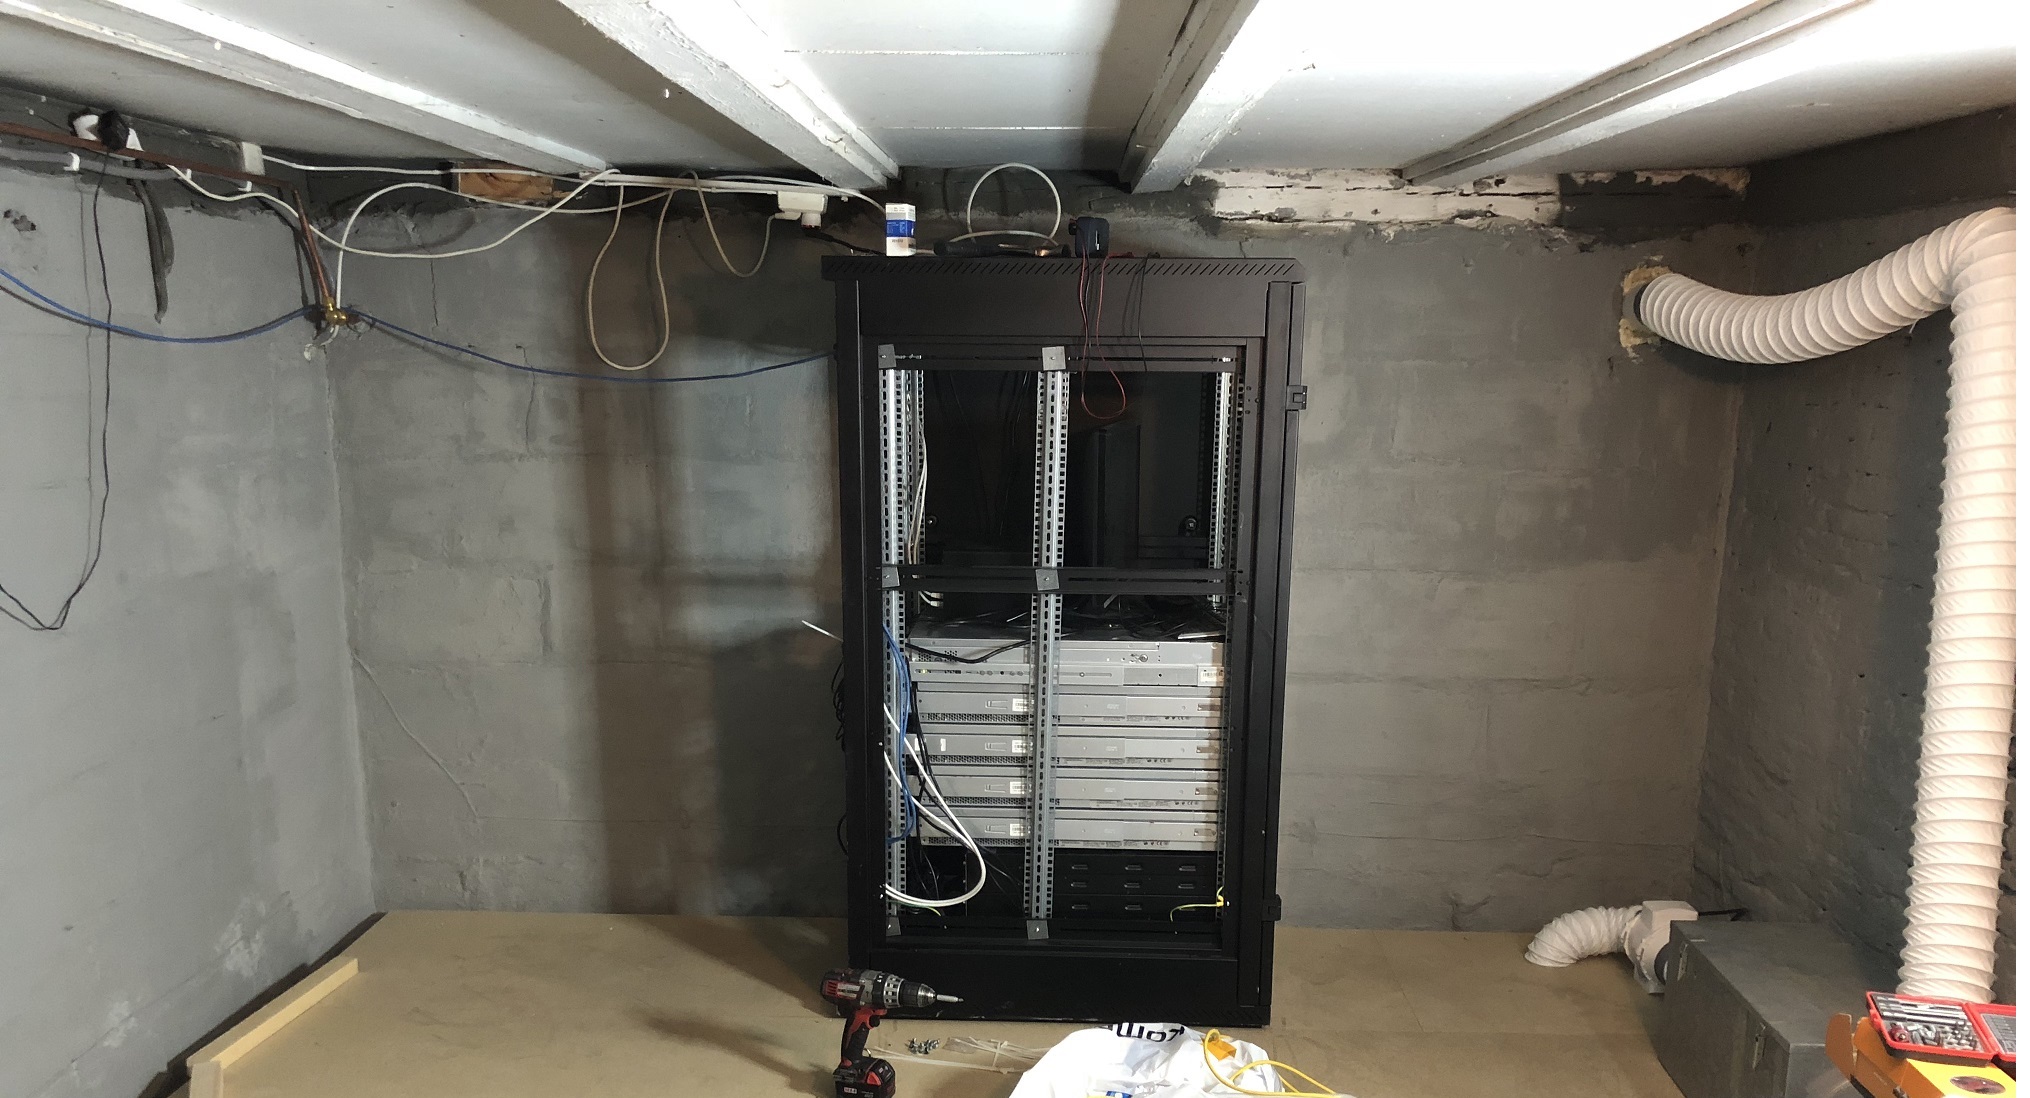
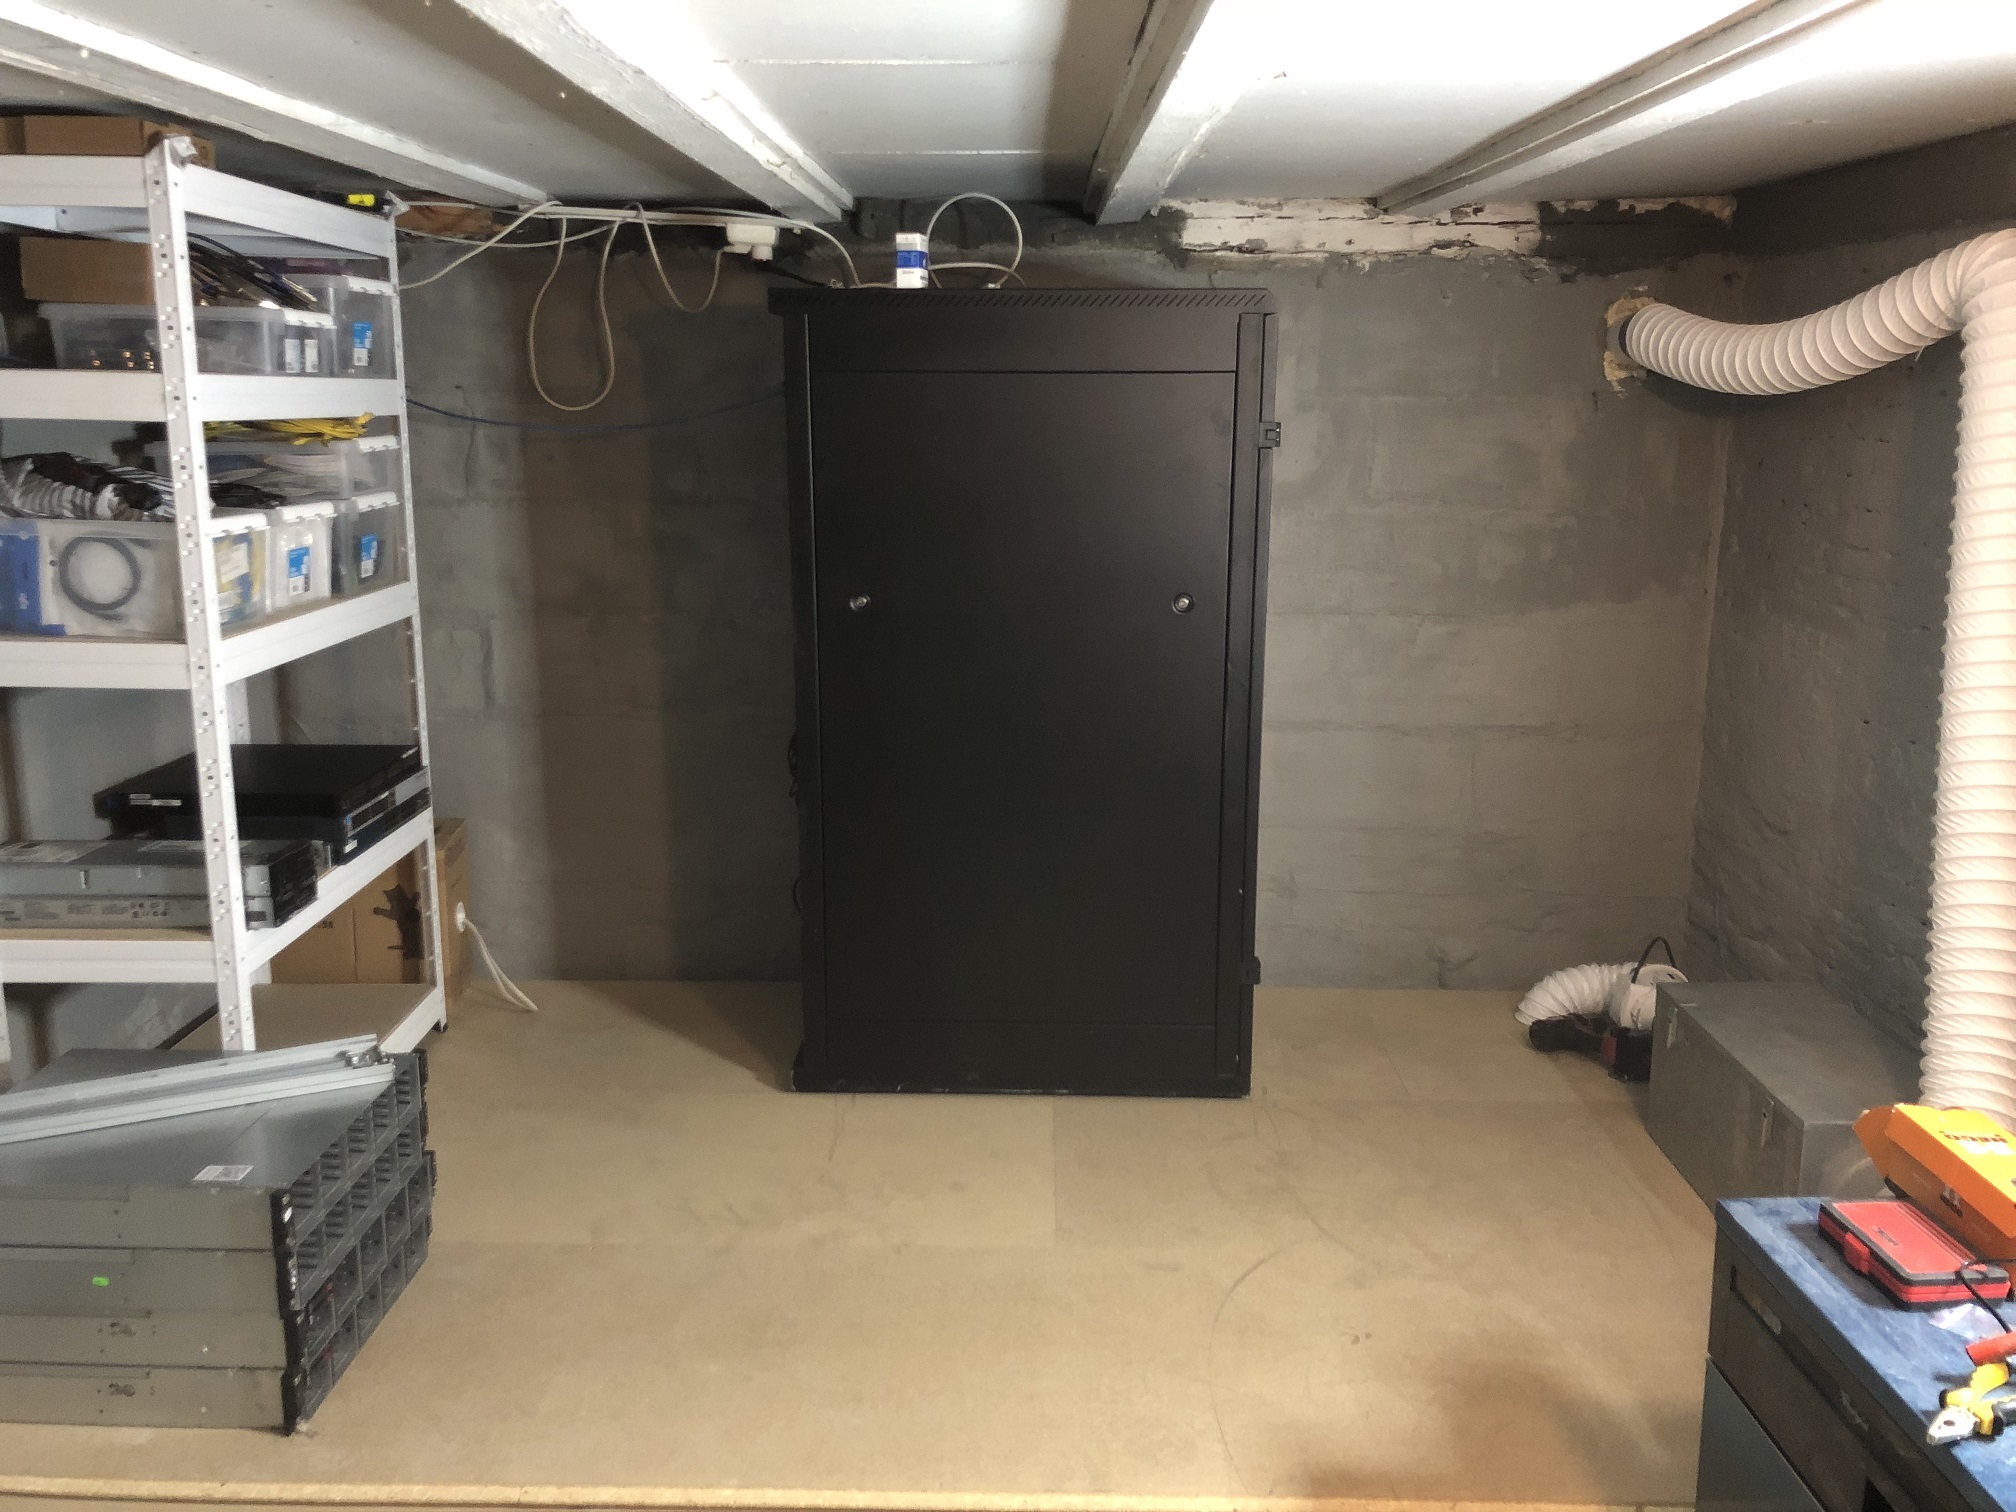
I also moved in my storage rack for cabling and other Hardware i have. Some spare switches and servers.
Hardware in the Rack is
Bluwalker 3000rt UPS with 2 extra battery packs
4 x HP DL380 G6 with 128GB ram (S2D) lab
HP DL180 G6 with 48GB ram for virtual backup server and main DC
Cisco 3650x 24 port
Dell Force10 S4048-On
Synology DS1512+
The blue cable is beeing raplaced with a custom rj45 as i did not have rj45 plugs to make a custom cable
reference: https://jtpedersen.com/2018/05/build-your-own-diy-home-lab-part-2-the-server-room/