
A friend of mine asked me about this a while ago, as he had setup his S2D cluster with SSD and HDD only. So the SSD’s became the journal drives(caching drives). Now he wanted to replace the SSD’s with NVME disks that he had replaced. Yesterday he did the swap and it worked great.
The process of doing this is.
- Stop all VM’s running.
- Shut down nodes one and one, then add the NVME disks to the server
- Retire the SSD journal drives
- Run command on the node that is the owner of the storagepool
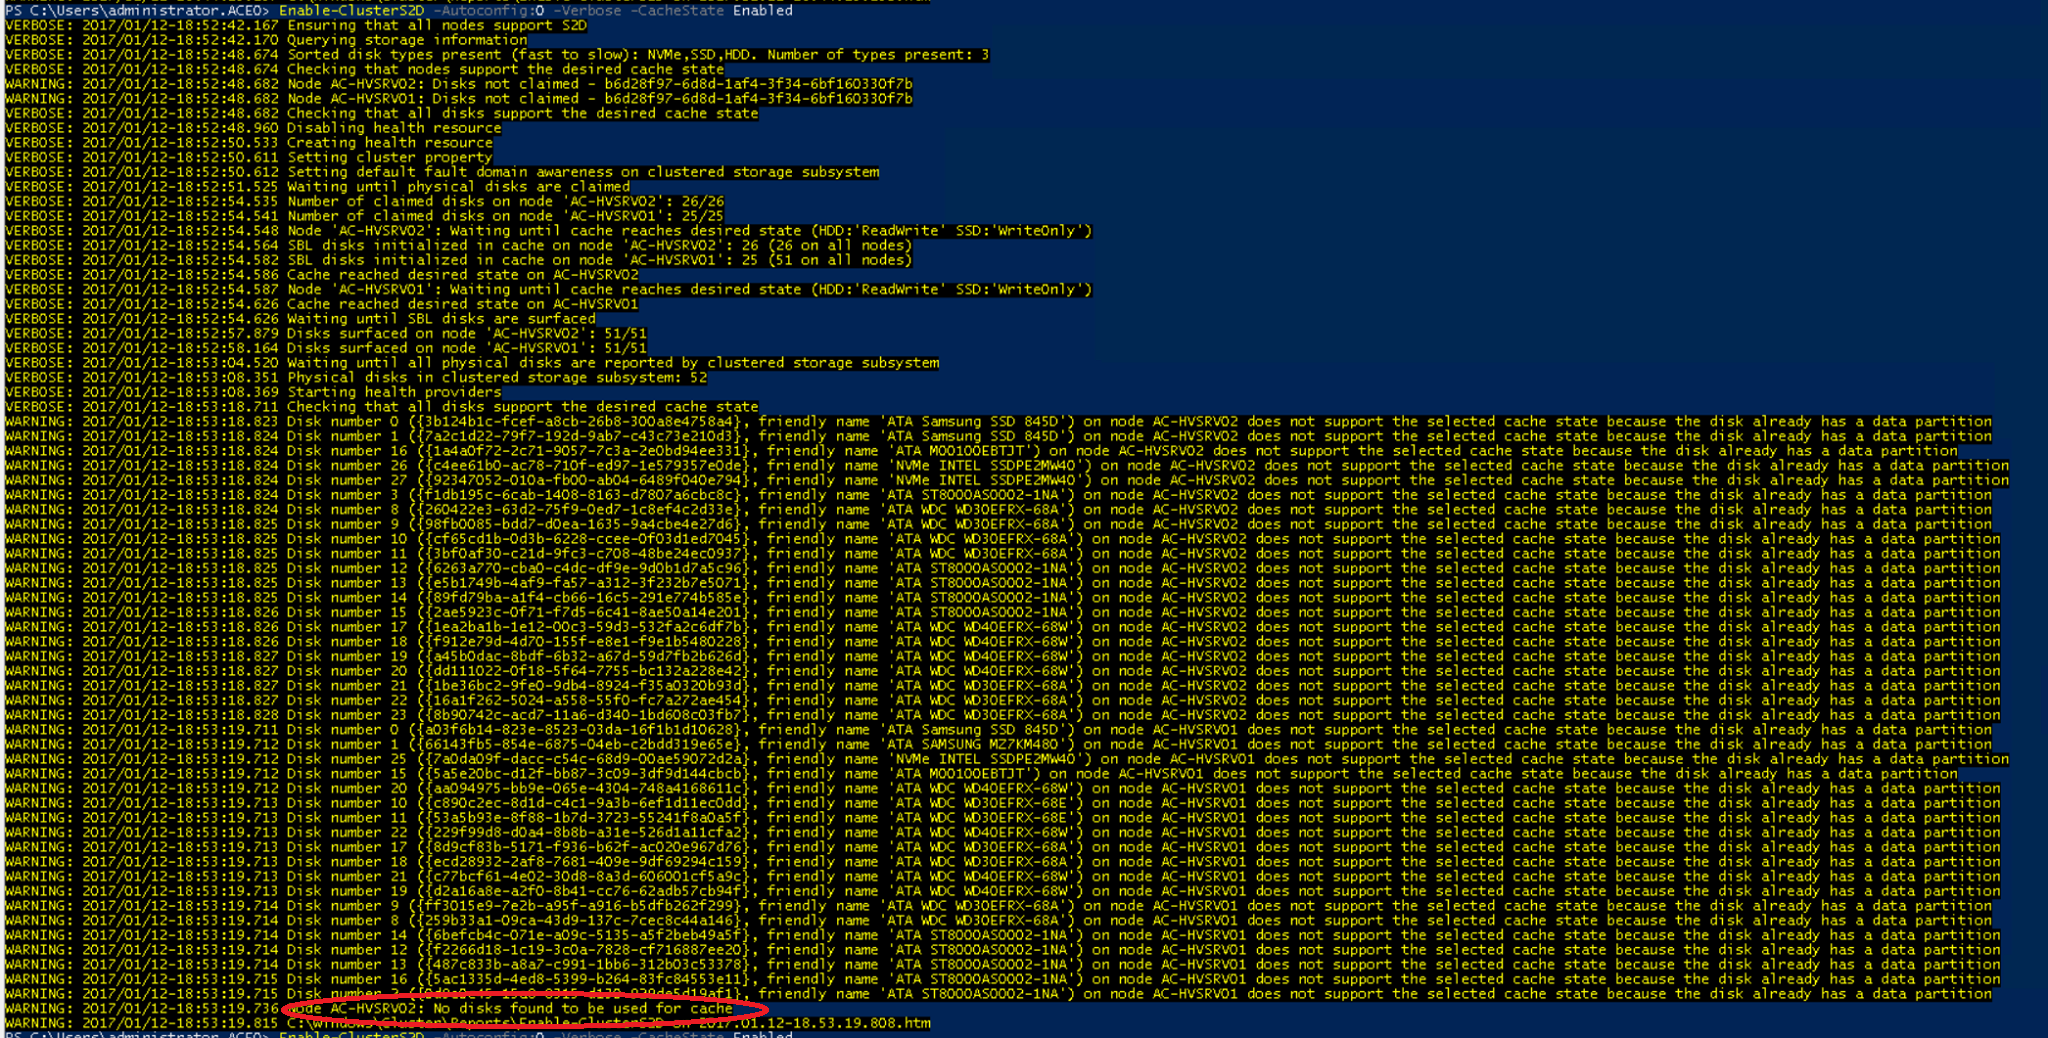
enable-clusters2d -autoconfig:0 -cachestate enabled -Verbose
- Here is a screenshot of the above command where the NVME disks where not added as caching drives. But what you should see at the bottom is that drives are added as caching drives.

- Add NVME drives to storagepool
- Set NVME drives as Journal drives, should go automatic
- Remove SSD drives from the pool
- Add SSD drives back to the pool and add them as autoselect drives.
Thanks to my good friend Vidar Friis for doing this and testing it out.
Use at own risk on any production cluster. If you are doing this make sure you have backup of the files on your storage.


3 thoughts on “How To replace S2D Cache device from SSD to NVME”
Hi,
I know there is a little while this article was written but I was woundering if it was possible to add the NVMe to the S2D without taking down the whole system.
I have a 4 node Hyper-V cluster with S2D and it is in production. It is really hard to take it down like this.
As far as i know, it’s not possible. I would not recomend doing it while the disks are online.
JT