
In this little post i will do a step by step guide on how to deploy an Azure Web App with Octopus Deploy.
Prerequisite knowledge and already done
Azure Web App deployed via Resource Manager and some knowledge and access to the subscription.
Octopus Deploy already installed and you have some knowledge about Octopus Deploy
Let’s start by collection some information for Octopus Deploy we will need a few things from azure to set it up.
Subscription ID
Application ID
Tenant ID
Password/Key
First we login to the azure portal and go to Azure Active Directory, and App Registration. Let’s create a new one.
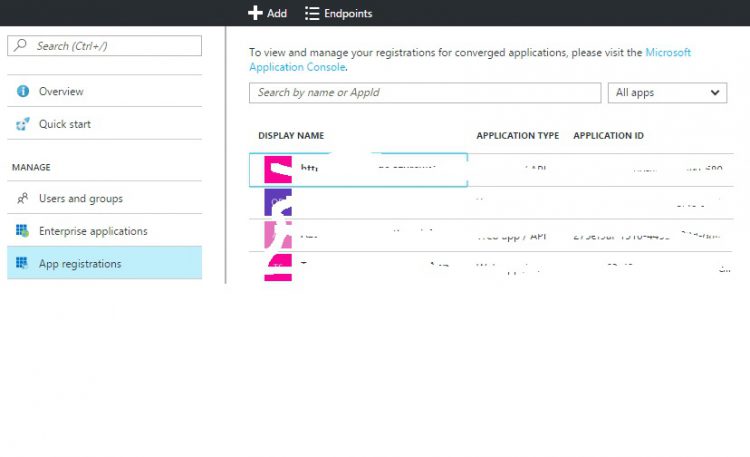
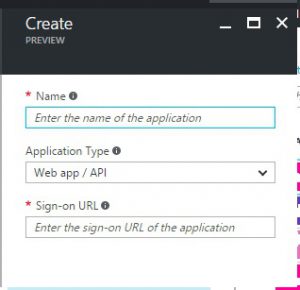
Click on Add and enter the details you want. You can add the link to the webapp in the sign-on url.
Now let’s go into the application
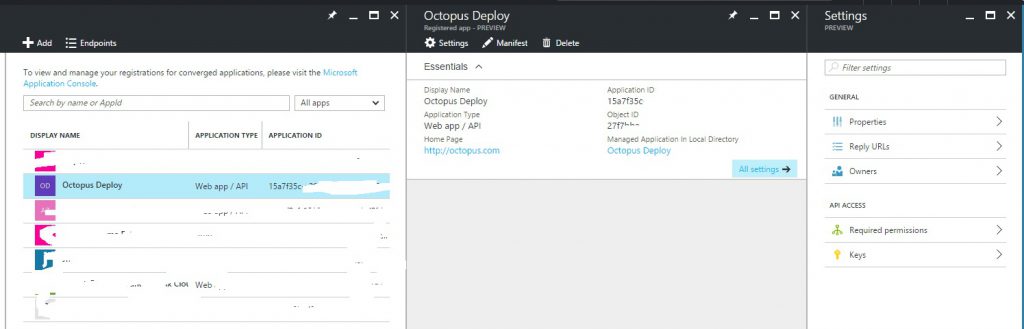
Here you will get the application ID and create the Key under keys, copy these somewhere and mark what is what.
Now let’s add the application to the web app access list. Go to the webapp and go to access control
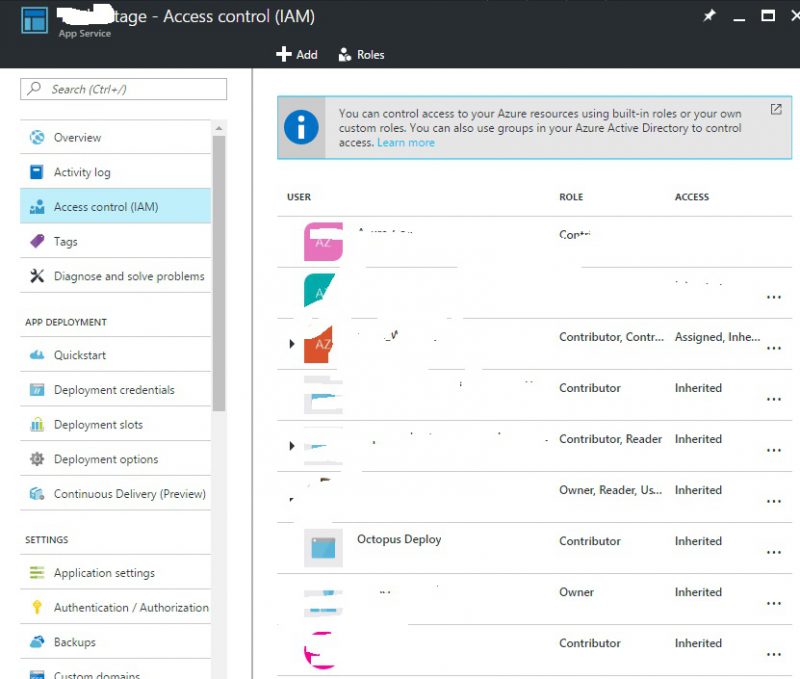
Click on add, Select it as a contributor.

Then find the user
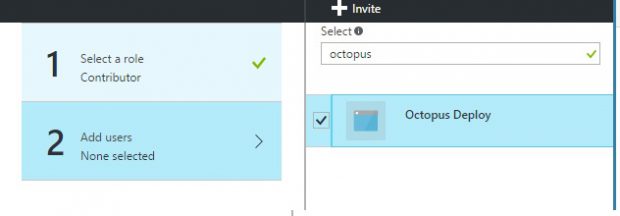
Now the user is there as a contributor
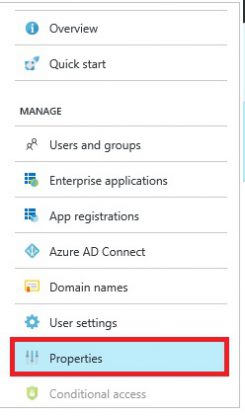
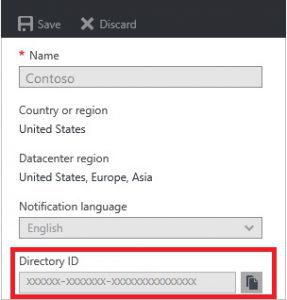
Now let’s get the tenant ID that is what is called a Directory ID in the Azure Active Directory. Go to Properties in Azure AD
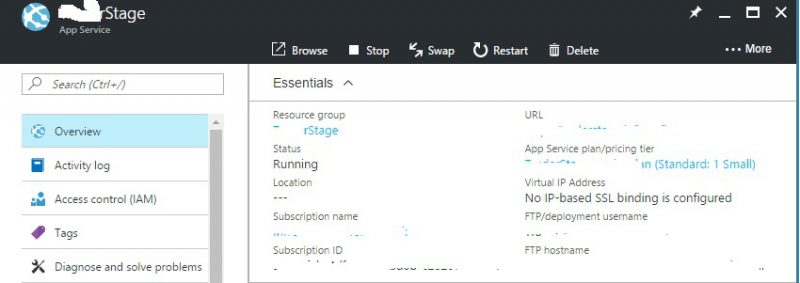
The Subscription ID you can get from your web app in the overview tab.
Now you should have the 4 id’s we need from Azure
Subscription ID
Application ID
Tenant ID
Password/Key
Login to Octopus and Create and enviroment
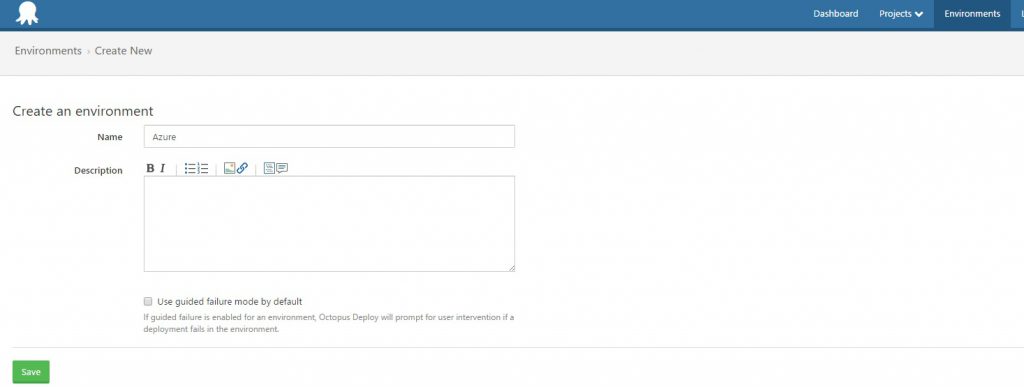
Let’s create a Azure Subscription account.
Go to Enviroments and Accounts
![]()
Let’s add one

Enter the name of your account, and add the Environment you just created. Then enter the ID’s and keys you got from the azure portal. For the password\key click on set to enter it. Then click save and test.
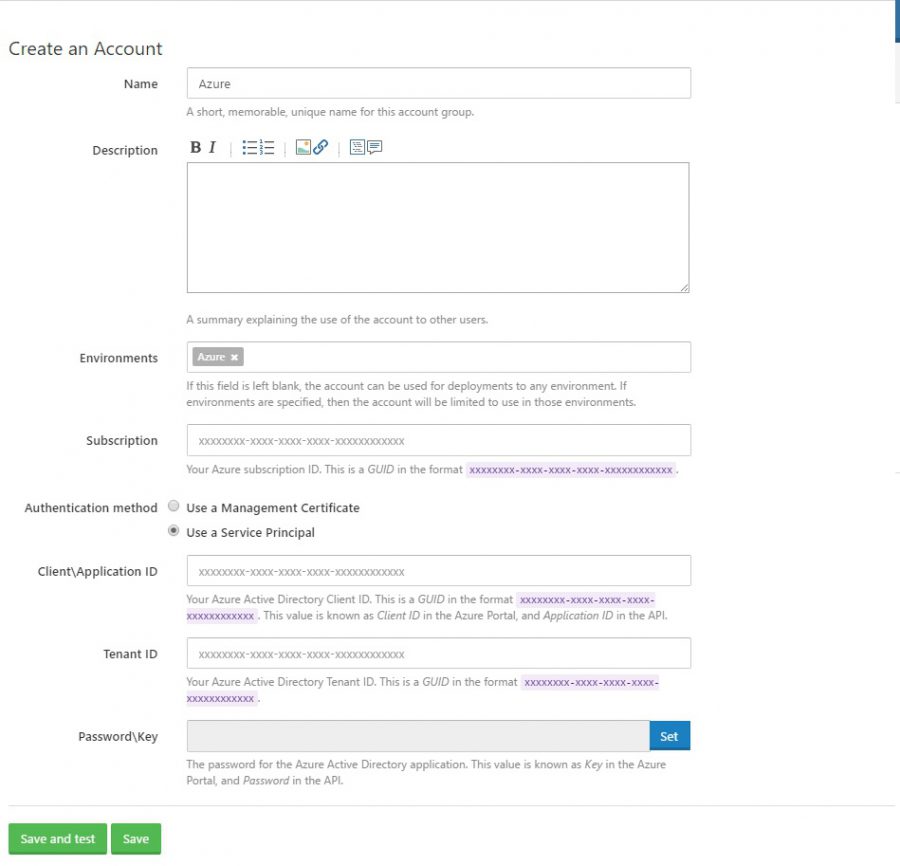
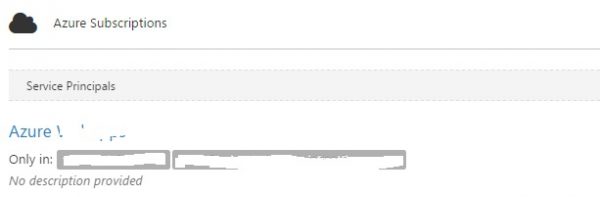
Now you should have an account.
Let’s go and create a project. Click on projects and all and then add a project to your project group and use the correct lifecycle for your project.
![]()
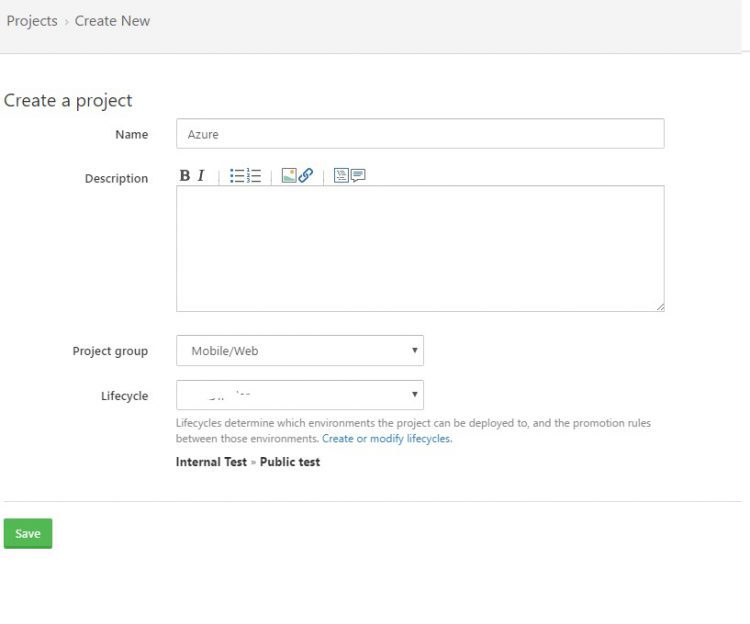
Create a lifecycle for your projects.
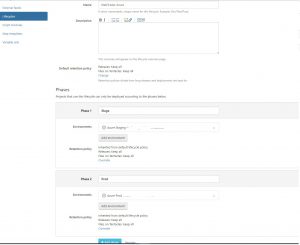
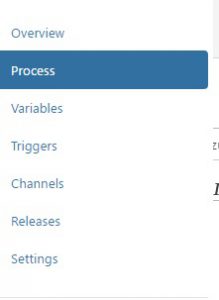
Now let’s enter your project and add the processes
Step 1
Let’s start with the first one which is deleting your staging slot. And adding a new empty one. Note that you will need to have create a staging slot for the first time use.
Click the green button.
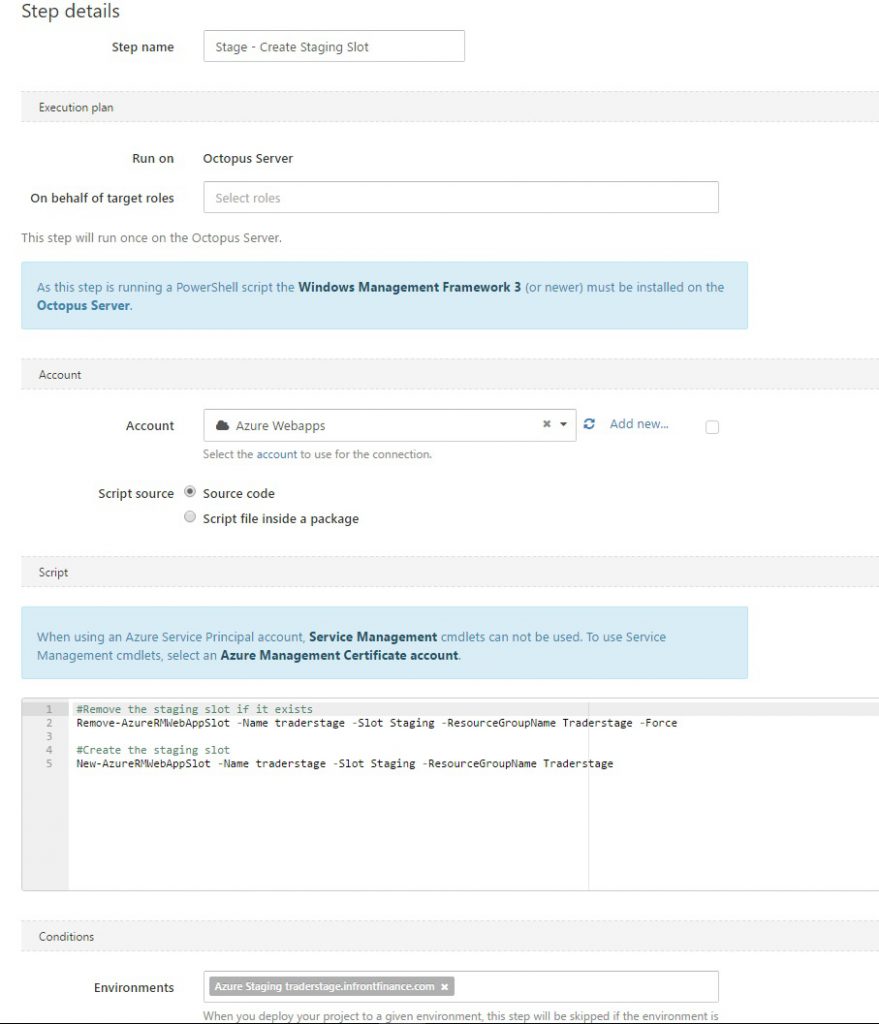
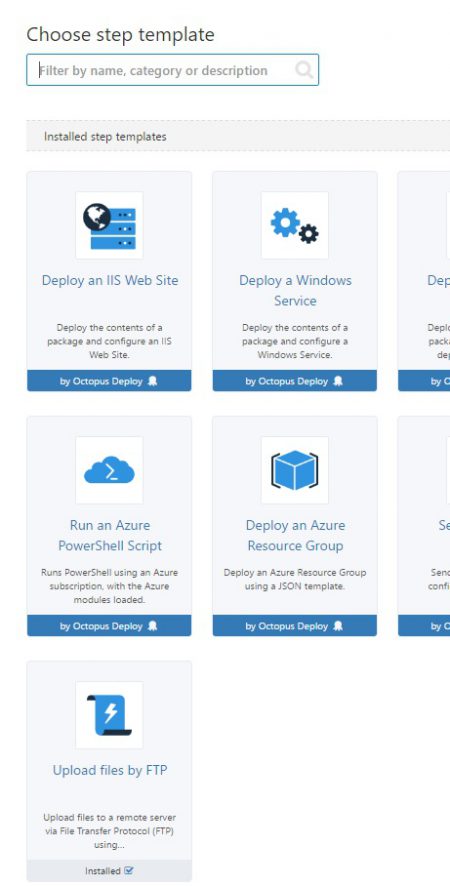
Then choose to Run an Azure Powershell Script

Choose a name, select the azure account and add the following script. And add your environment.
#Remove the staging slot if it exists
Remove-AzureRMWebAppSlot -Name "Web App Name" -Slot Staging -ResourceGroupName "ResourceGroup Name" -Force

#Create the staging slot
New-AzureRMWebAppSlot -Name "Web App Name" -Slot Staging -ResourceGroupName "ResourceGroup Name"
Step 2
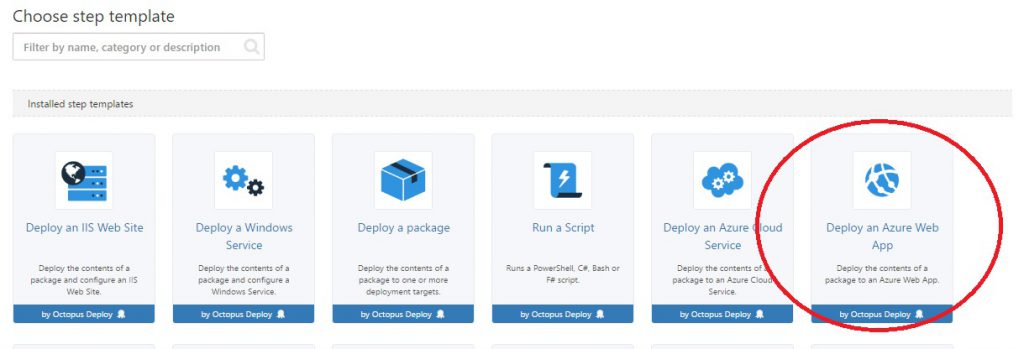
Add a new step Deploy Azure Web App
Now enter your details. The name of the step, the package feed, the package ID. Choose your Account and web app name
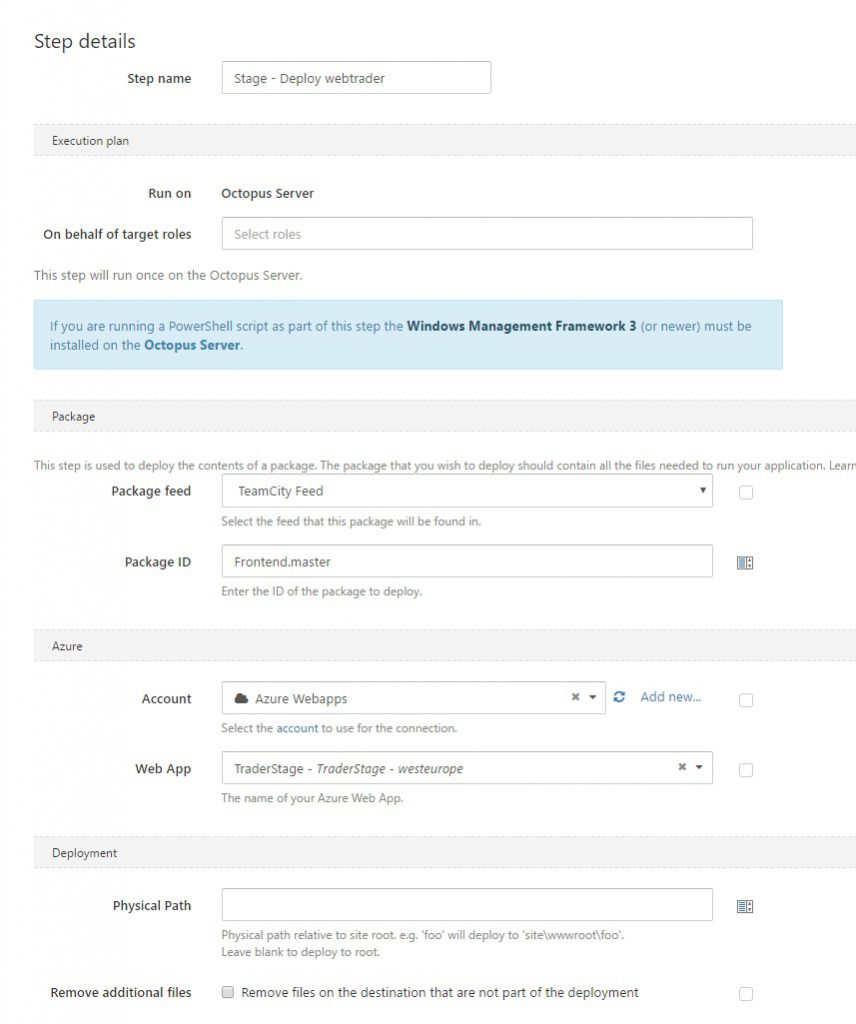
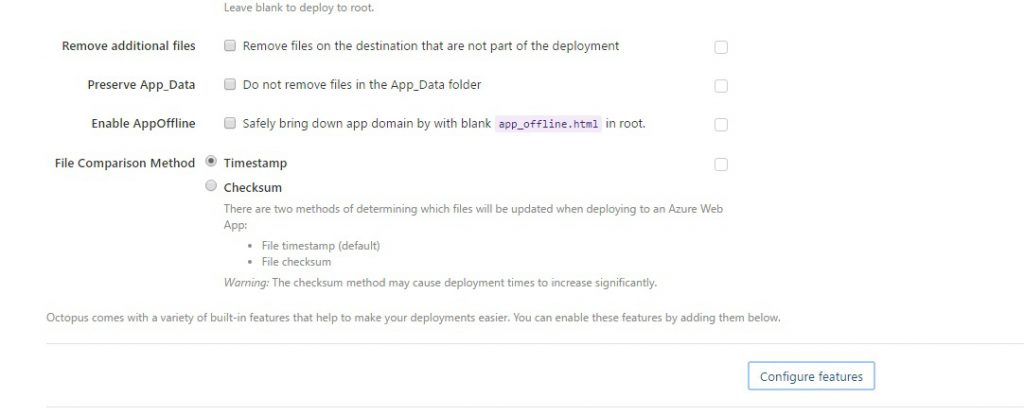
If you need to configure any variables in your web.config file for different environments click on configure features
Then click on Susbtitute variables in files
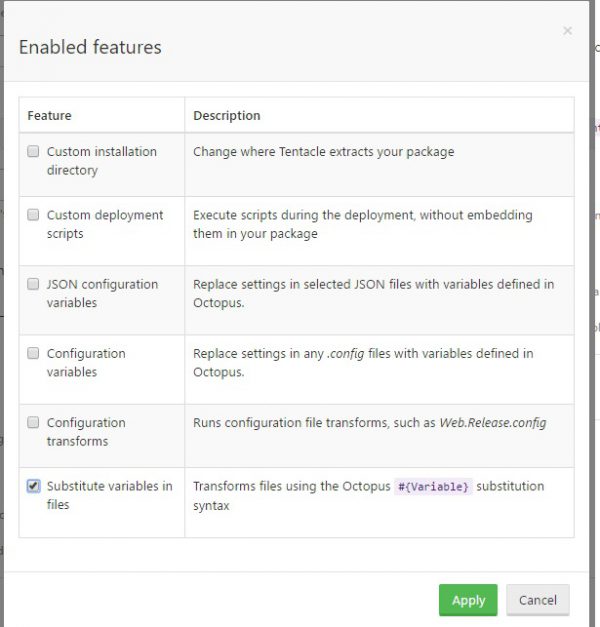
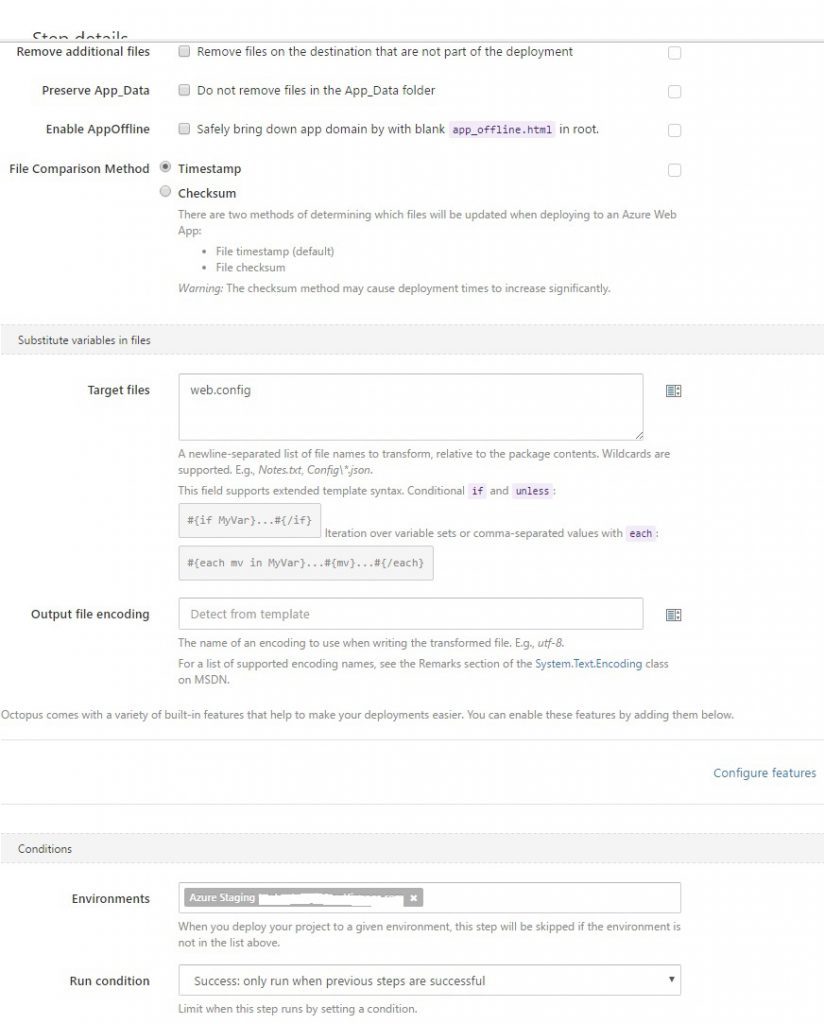
Now click save
Step 3
Now let’s create a step to swap the staging slot with the production slot.
Let’s create a step that run’s a powershell script again.
#Swap the staging slot into production
$env:computername

Get-Module -ListAvailable -Name Azure*

#import-module AzureRM.Websites -verbose

#Import-Module "C:\Program Files (x86)\Microsoft SDKs\Azure\PowerShell\ResourceManager\AzureResourceManager\AzureRM.Websites\AzureRM.Websites.psd1" -Verbose
Write-Host "Swapping staging and production slots..."
Switch-AzureRmWebAppSlot -ResourceGroupName "ResourceGroup Name" -Name "Web app name" -SourceSlotName Staging -DestinationSlotName Production -Verbose
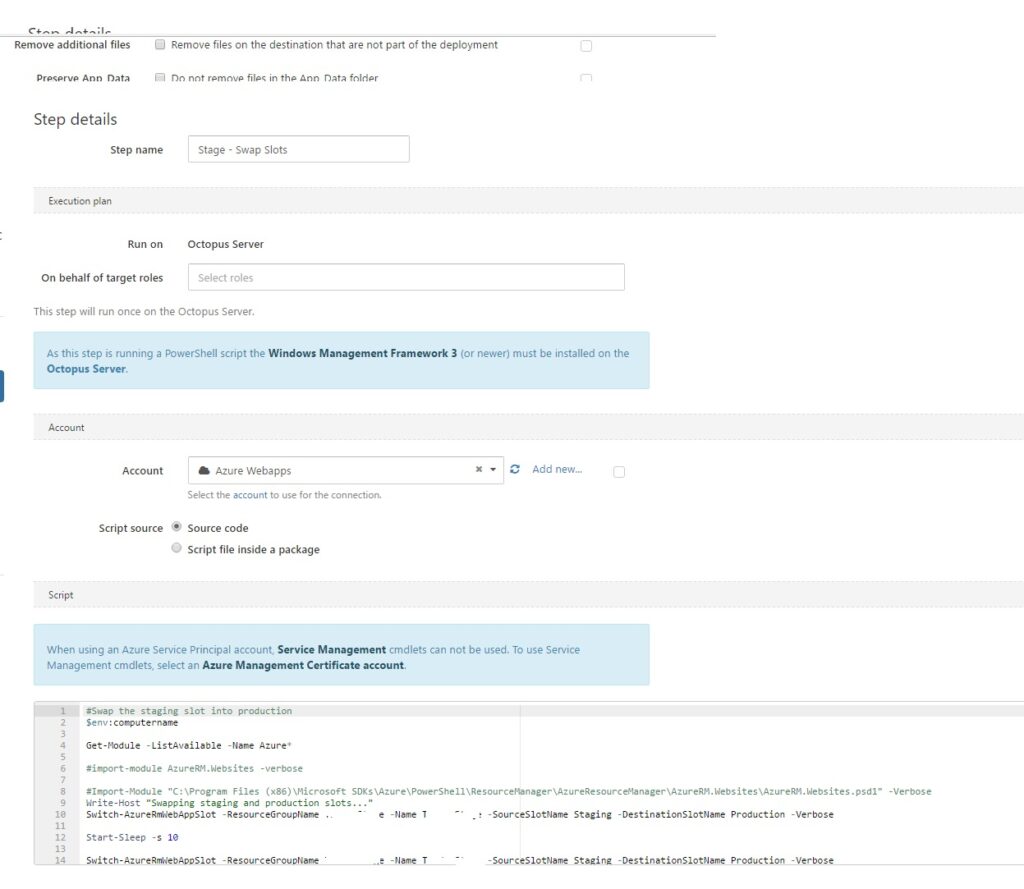
Add the correct environment. And click save
Now if you have more then one environment redo the steps from 1 – 3 for each environment. But make sure to change the Environments at the bottom of each step.
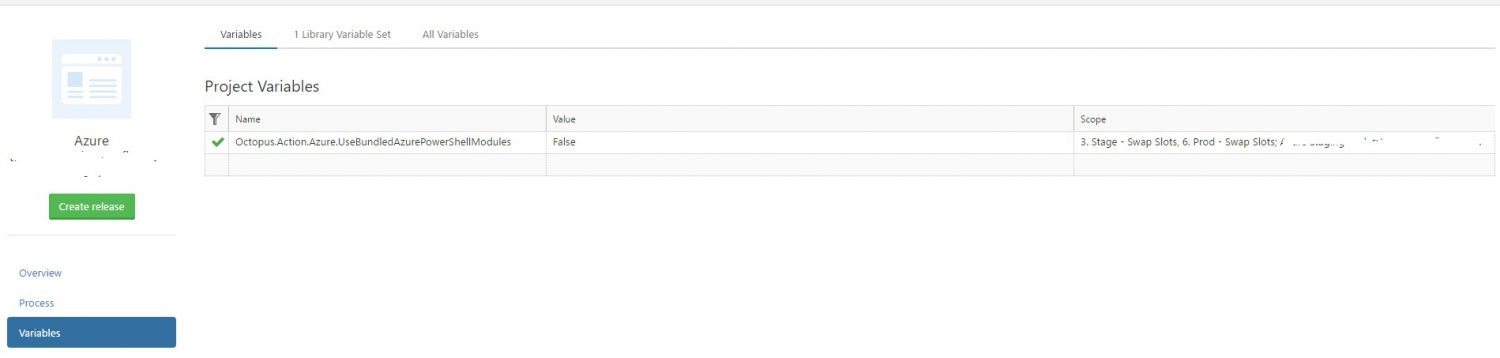
Last thing we need to do is add an environment variable to step 3 for each environment. So if you have 2 it would be step 3 and 6. This is for the switch-azurermwebappslot to work.

4 thoughts on “Deploying websites to Azure Web Apps with Octopus Deploy”
Well done to the author. A awesome article. Can I contact you? Can I write to you directly?
Thanks
Sure contact me on twitter @jantorep
Well done to the author. A awesome article. Can I contact you? Can I write to you directly?
Thanks
Sure contact me on twitter @jantorep