
Welcome back for Part 10 of this System Center VMM series, in this post I will talk to you about Physical Computer Profiles
In the previous posts i have spoken about all the different fabric items that needs to be in place for Bare Metal Deployment to work. Physical Computer Profiles is the last piece of the puzzle for doing BMT deployment.
Let’s jump over to the Library page and look at how to provision a Physical Computer Profile.
Let’s right click and click on Create Physical Computer Profile

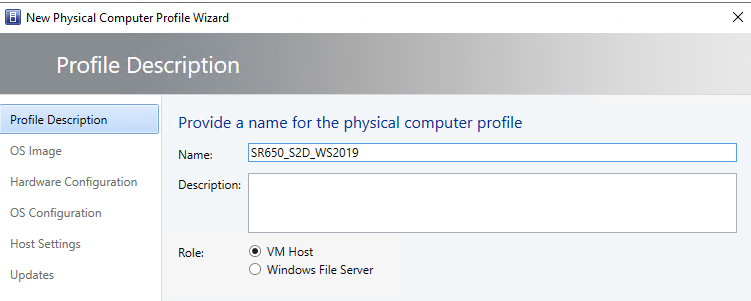
Let’s name the profile and choose the VM Host profile, then click next
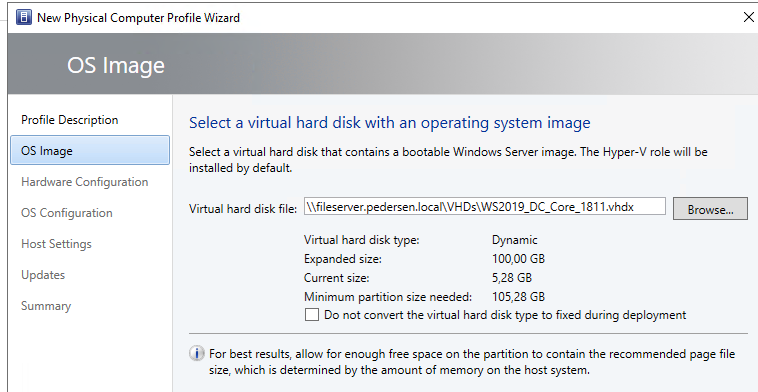
Let’s select a VHDX File. Now i have one pre provisioned with the convert-windowsimage.ps1. You can download a nice script that uses it from the wslab repo on github.
https://github.com/microsoft/WSLab/blob/8de7322d5dba45a69dfe1c69949e78a93807e64d/Tools/CreateParentDisk.ps1
I usually do a naming convention of WS2019 to identify OS version, DC for Datacenter, Core for ServerCore or GUI for GUI 🙂 Then ending with the year and month.
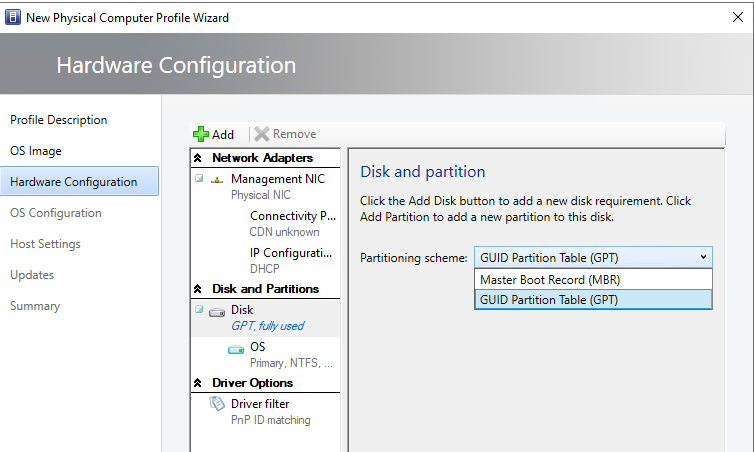
Click next to get to Hardware Configuration.
Leave the Management Nic config as is, and go down to disk config. For UEFI systems change to GPT partitioning. For BIOS leave as MBR.
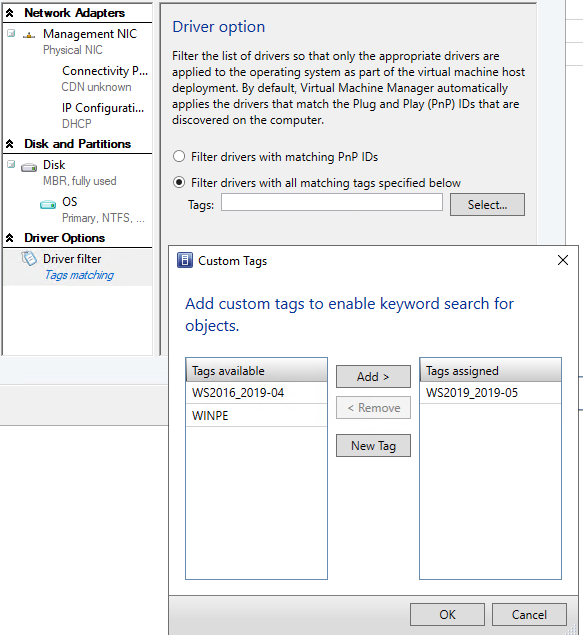
Now let’s choose driver tags for the profile. In the prev post we talked about tags. We created some tags there. Simple go down to Driver options and click in Driver filter. Then click on the Filter drivers and select. Choose your WS2019 driver tag. And add it.
Under OS Configuration fill out the needed info. Use the configured settings we did in prev posts, fill out the following.
- Domain, use domain join account.
- Local admin password.
- Select a Computer Access profile, like the host access.
- Fill out a Product key if you don’t have KMS
- Set the TimeZone
- And select a Answer file if you have thatOn

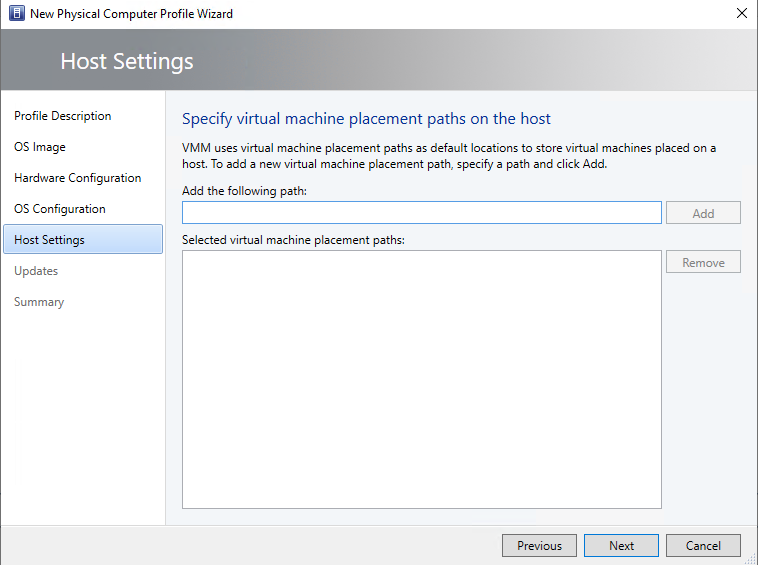
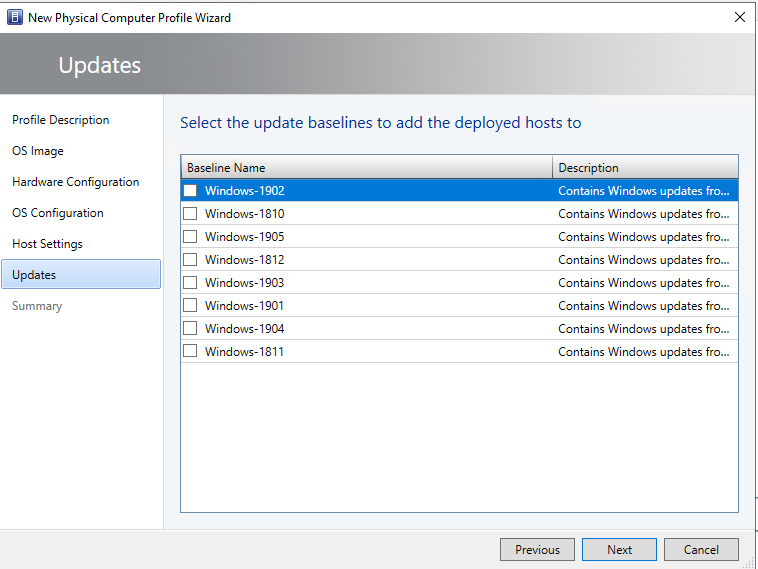
On host settings and updates do do anything.
Click next and Finish to create the physical computer profile.
Stay tuned for the next post, where i will write about the Bare Metal Deployment process.
How to configure System Center VMM Part 1 – Basic Design
How to configure System Center VMM Part 2 – Host Groups
How to configure System Center VMM Part 3 – Logical Network
How to configure System Center VMM Part 4 – Port Profiles
How to configure System Center VMM Part 5 – Logical Switches
How to configure System Center VMM Part 6 – Library Server
How to configure System Center VMM Part 7 – Run As Accounts
How to configure System Center VMM Part 8 – Deployment Server
How to configure System Center VMM Part 9 – Driver Tagging
How to configure System Center VMM Part 10 – Physical Computer Profiles
How to configure System Center VMM Part 11 – Bare Metal Deployment
How to configure System Center VMM Part 12 – Update Server and Baselines
How to configure System Center VMM Part 13 – Patching Hosts
How to configure System Center VMM Part 14 – Hardware Profiles
How to configure System Center VMM Part 15 – Guest OS Profiles
How to configure System Center VMM Part 16 – VM Templates
How to configure System Center VMM Part 17 – Clouds

3 thoughts on “How to configure System Center VMM Part 10 – Physical Computer Profiles”
Why on earth do they not provide a way of exporting a physical computer profile. i’ve done tons of customisations, and i need to revert my VMM database back to some weeks ago. If i revert, i’ll loose all the changes.
Really annoys me.
That is a good question. But there is no good export models. That’s why we use powershell for the most when we build VMM solutions for our clients to easy restore if something happens.